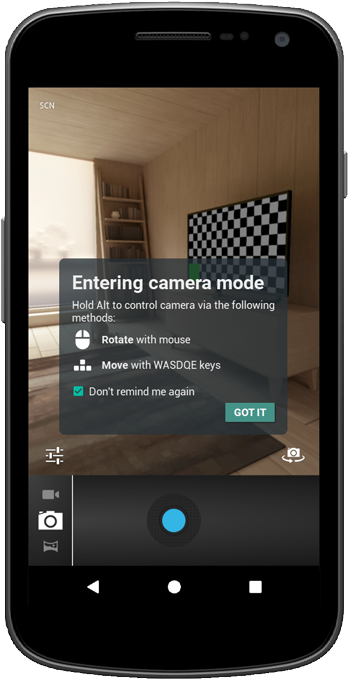
Lookin' at the Camera
If this is a clean boot of the emulator then a lot of default walkthroughs for some applicatoins will be active. The camera one can cause a problem with functionality of the app, as it will not return to the app after getting through it all. So, please make sure you've visited the camera and cleared that off before trying the camera section of this tutorial series.
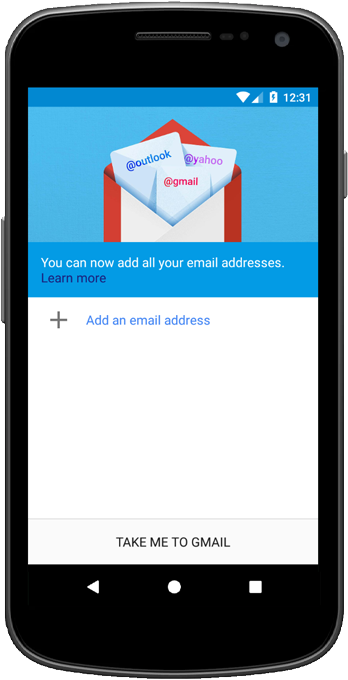
Setting up Email Client
On a clean boot you'll need to setup an email account to test the form sending portion of this tutorial series. If you don't do it now you can do it later. Unlike the camera it does not interfere with the app functionality if you don't set it up ahead of time.
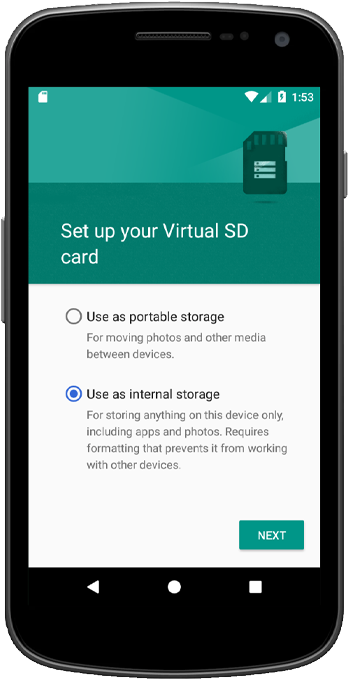
Virtual SD Card
This is not necessary, but if you'd like to play around with storage locations it's certainly an option. Once the app manifest is setup to use storage permissions you'll get a little icon in the action bar. Clicking on that you have the option of setting up the virtual SD card.